Deck and Topside Painting
I hate sanding. It seems like an endless job. Especially on the deck of a boat, with all its nooks and crannies. But the deck and topside of 4 Degrees needed painting. Between 30+ years of dings, repair of a soft spot that left lots of stains, and stains from either the gasoline outboard or the power plant next door to my marina, the deck and topside (sides of the boat above the waterline) were looking pretty sad.
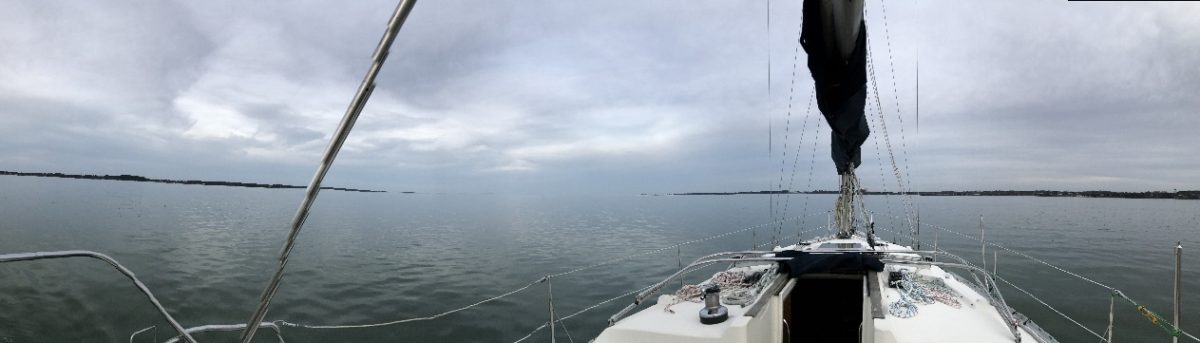
I had requested that the boat be hauled out mid-March, in order to get it painted before the new engine arrived. Because, obviously, I didn’t want lots of footprints in the cockpit while trying to paint it.
So the boat was hauled out. And I started patching all the dings and all the small holes in the deck that were causing water to appear in the cabin. We then started sanding down the whole thing. I rented the vacuum sander from the marina, a requirement for their environmentally friendly facility. But there were a lot of surfaces that weren’t large or flat enough on the deck that didn’t lend themselves to that tool. I did have a small palm sander (‘give me the cheapest thing you have’, I asked the folks at TruValue) with a bag for dust. But it, too was a bit large to use. So alot of surfaces had to be hand sanded.
Back up a minute….
I had alot of epoxy from the soft spot repair left over. It said it was good for filling deck crazing. So I mixed up the last of what I had and brushed it on the crazing on the toe rail. But the stuff was quite runny. What I did was make more of a mess than a fix to the situation. All those drips had to be sanded off. Not only that, I guess I didn’t mix it all consistently, because alot of sections just flaked off.
Now, back to our regularly scheduled program. 🙂
The nooks and crannies around the hardware needed to be hand sanded, as did the sides of the toe rail. Not alot of surface area, per se. But it took the longest to do.
But we finally finished the sanding. And it started raining.
Last year, I was out of work for 3 months. It made it hard to afford supplies for boat repairs. But it did allow for alot of time to get work done. Now, I have a job, with a 1-1/2 hour ride to and from work. So I have the money for the repairs, but not alot of time to work on it.
So, sanding needed to be done, I looked to get some painting done. Unfortunately, it rained all day last Saturday and most of Sunday. So I watched the NOAA hour by hour report. When it said the rain would be done (although the sky was still very much overcast), I headed back to the boat, and worked on some more of the sanding. Since I’m paying for the time this boat is sitting out of the water (in addition to the slip fees), I sent a note to my bosses letting them know that I’d be taking off early from work on Monday and Tuesday.
Monday, things happened and I didn’t leave as early as I’d hoped I would. But I did finish the sanding and get the taping done. By then, however, the shadows were appearing, so I put off painting until the next night.
Tuesday, I started painting as soon as I arrived.
I had read that the best technique to use was something called ‘roll and tip’: you roll the paint vertically, then you smooth the paint by brushing it horizontally. A friend suggested that she had used a foam brush with good success. Since I was starting on the bow, and on the toe rail, I figured I’d try a foam roller and see how it did. I was not impressed: the results were more ‘bumpy’ than I wanted. I had less success with a foam brush. So I changed to a regular brush, figuring I was going to have to sand it and put a second coat of primer on anyway.
But the top of the cabin was a different story. the surfaces were large enough, and the paint dried fast enough, that it was hard to get a good layer on with a brush. So I switched to a roller for a modified ‘roll and tip’. It worked pretty well! The only downside was the fact that the roller was a nappy one and the ‘hairs’ got caught in the paint. Looks like those will have to be sanded out, too.
Which is very frustrating.
I’d washed the entire outside of the boat, then wiped the surface to be painted down with acetone. I then rewiped it with acetone before starting to paint, to get rid of the dirt that had blow on. So now, to have something end up in the paint from the roller was very disconcerting. I will definitely pick up some foam rollers for the rest of the job.
I started having shadows by the time I got to the cockpit. But I finished anyway, rather than leave the job halfway done, and have to wait until Saturday (when the rain will hopefully be done) to finish. I will need a bit of Goof Off to clean up some of my splatters, that’s for sure!
I went by this morning to cover the open surfaces (windows are out, gauges are out, and the covers for the cockpit lockers and cabin are down) with plastic to keep the bilge pump from working overtime. The light was too dim to see the surface very clearly. But the color already looks so much better than before I started!
Tonight, and for the next few nights while it’s raining, I’ll paint the covers that I removed in the nice dry garage, and, hopefully, perfect my brushing technique. I’ll also have a chance to practice putting on the non-skid before attempting it on the rest of the boat.
Electric Engine
Those who have monitored this site have seen the enginer problems I’ve dealt with. The Westebeke 18W that was in the boat when I purchased it 3 years ago, like an old man, was cranky and hard to get along with as winter moved to spring. Last year, rather than just being cranky, it just wouldn’t start.
The surveyor I employed when I was purchasing the boat had been familiar with it. We also had questions, since the boat came with both an inboard and an outboard (a sailboat needs 3 forms of propulsion?), so I’d had the engine surveyed separately. The person I found to look it over had actually seen that engine in an earlier incarnation. He remarked that it was near death last time he’d seen it, but that someone had taken the time to bring it back to life, and done a good job of it!
In summer, it ran like a charm. In winter, it gave me problems. Finally, last year, the only shop I could find that would even look at it required I bring the engine to them. So I did. They said there was water damage inside. The price they then quoted me to rebuild was going to be more than another used engine would run me – I think the quote was something like $7K. So I said thank you but not thanks and sold it for parts to someone for about $200.
I got back the outboard from the person I’d sold it to. He hadn’t been able to use it because it was too big for his boat. So it had sat on a stand for 2 years.
I had the outboard cleaned out and tuned up. It ran ok – with the choke on. Found out it had air leaks that the mechanic couldn’t trace down. Not only that, one blustery race day, the outboard couldn’t even get me out of the marina. I ended up tying off at another dock and coming and moving my boat back into its slip the next morning, after the wind died down.
ARGHHH! Sailboats! All I needed was something to get me out of the marina. Why did it have to be so difficult?
Being the proud owner of a Prius, I had been intrigued by what I’d been hearing regarding electric engines for boats. I started lurking around the electricboats mailing list, and checked out the vendors at the Annapolis Boat show last fall. After conversations with the Electric Yachts folks, I settled on the 180ibl they made. My boat size/weight is actually at the cusp between their smaller engine and this midsized version. But my fear of being underpowered after my fiasco mentioned above led me to go with the larger model.
The engine is ordered, as are the 150AH AGM batteries. I’ll place the order for the Dual Pro charger this weekend. The prop will need to be reinstalled, since I had it removed and the shaft plugged when I decided to use the outboard. I’ll try to keep the information on the conversion up to date as I go.
[Top]