Boat Repair Pictures
I took copious pictures throughout the repairs this spring/summer. Rather than post them all here, here are links for you to follow to find them:
General Repairs
Cutless Bearing Replacement
Topside Painting
Motor Installation
Kersplash!
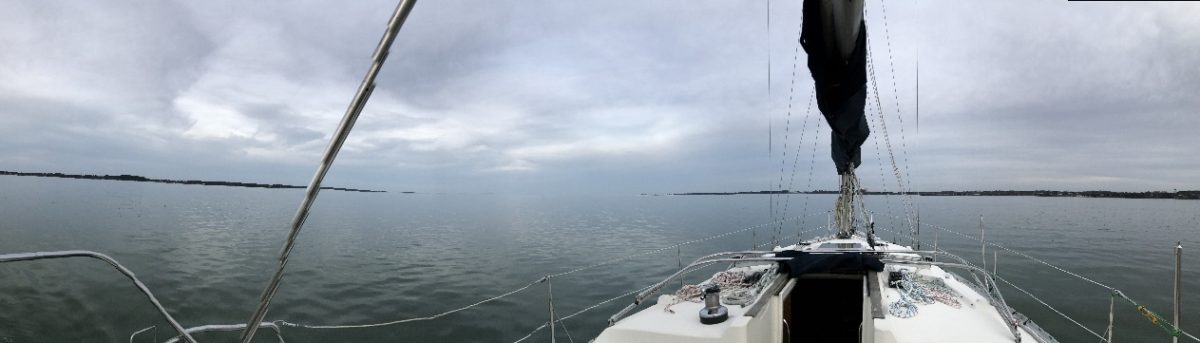
Woowee! After 2-1/2 months, the boat is back in the water! Hooray! Unfortunately, it wasn’t an easy launch. I was most concerned with the new stuffing box. But I guess I should have paid a bit more attention to the new knotmeter as well.
The boat was put into the lift and taken over to the water. Mike, from Wormley Creek, let me check everything out as soon as I dropped it in. I found a dry engine bed, so I put the stuffing box, hose and clamps on correctly. But there was water coming in where we’d put the knotmeter in.

Paul put the male threaded coupler in, gluing it in with 4000 that I had. The directions said to wait for it to dry before screwing it in place, which we did. It also said to add more sealant and hand tighten it into place. I did so. But I guess this wasn’t good enough.
Mike pulled the boat back out of the water. He pressed on the fitting and showed that there was alot of play. The ‘nut’ that I hand tightened didn’t put enough pressure to seal it in place. I suspect, too, that we should have put it in while the sealant was wet, instead of following the directions.
We undid the pieces and scraped off all the old sealant. Mike found a tube of 4200 in his shop and placed that on the bottom of the boat, where the fitting would seat. He then handed it up to me and I put some down on the inside, where the nut would seat. He reinserted the fitting and I tightened down the nut, using a huge pair of pliers that he gave me.
But I couldn’t tighten it down very far. The hole in the shell on my boat wasn’t cut much larger than the hole through the bottom, leaving little room to manipulate. So Mike came up and, while Chris held the fitting in place, he applied the giant pliers and tightened the nut. I then screwed in the knotmeter and took the zinc spray down to respray the fittings.
Mike said that luckily, the sealant cured faster in the water than out. Thank goodness!
Mike then lowered the boat back into the water. This time no leaks!
I started the new electric motor and drove the boat over to her slip and tied her up. Tomorrow, we test out the new motor.
[Top]Initial Electric Engine Checkout
 We finished wiring up the engine, and checked it out tonight. We left the engine disconnected from the prop, and, following the directions for a change (:) ), we turned on the main power switch, turned on the key, then turned the power knob on the engine all the way. We picked the right direction the first time, because when we pushed the throttle forward, the prop shaft turned clockwise (when facing forward). Just to confirm, we also moved the throttle into reverse. That worked, too.

We then took the time to connect the engine shaft to the prop shaft, using the coupler supplied by Electric Yacht. To avoid burning out the cutless bearing, we brought over a hose, turned on the water, and squirted the bearing while we repeated the tests. Everything worked out well, so we put it all away and took some time out for Dark and Stormys.

Installing the Electric Engine
Of all the tasks I’ve had to do on the boat this spring/summer, installing the engine has got to have been the most straightforward – and the most nerve wracking!
Three things worry me when I do repairs or put something new on: one is that I’ll do it wrong and have to do it over again; two: that I’ll mess it up badly enough that the boat will sink; and three, that the next owner of the boat will look at what I’ve done, shake their heads and say, “What was she thinking?”
I guess the last one shouldn’t bother me that much. But I was office mate to a guy buying his first sailboat. He’d done quite a bit of research, and he was pretty handy in his own right. So he would regale me with tales of poorly done installations and repairs on the boats that he looked at as he search for something he’d want to own. And I guess I don’t want to be ‘that’ person.
So, installing the engine became almost the last thing I’m doing before I put the boat back in the water. I don’t want to sink the boat. I don’t want to get it done, find it’s wrong and have to do it all over again. And I don’t want the next owner to look at what I installed and feel the first thing they’ll have to do is redo what I’ve done.
But, although time consuming because of my own limitations, installing the engine has proved to be very easy. The Electric Yacht folks have built something that is easy to work with and provided detailed enough instructions to quell many of my fears. On top of that, Scott McMillan, the owner of the company, has quickly answered my numerous emails asking for clarifications or more information.
I must admit, I didn’t do things quite in the order suggested. The instructions say to put the batteries in place first, then put the engine in. But I was laying the batteries in the engine compartment in such a way as to make them easy to access, which meant getting the engine placed first, to make sure that everything would fit.
 First thing, I moved the house batteries. Those are smaller and shorter than the 4 AGM batteries I was installing. So it was easier to put two of the AGMs where the house batteries were, and move the house batteries to a locker beside the engine compartment. So, I cut a piece of oak large enough for each battery, and treated 2×4 to help make the surface level. I covered each piece of wood with West Systems (where would the modern day sailor be without it?), fiberglassed the 2×4 in place, and screwed the oak shelf onto the 2×4. I left the other side free, since I didn’t want to put holes in the bottom of the boat. We rewired the house batteries in their new location and moved onto the engine batteries.
I planned on putting two of the engine batteries where the two house batteries had been. One of the remaining engine batteries would go on the aft end of one of the mounting rails, with another 2×4 support attached to the side of the engine compartment. The last battery would go between the rails, raised slightly with some oak supports to ensure that I wasn’t blocking anything from flowing into the bilge.
First, however, I put the engine in place. The engine is much narrower than a diesel or gas engine. So mounting feet are provided to hold it in place. Spacers are included, in case the distance to traverse is longer than the feet will alow. In my case, the spacers were a necessity. I assembled the feet as instructed and slid everything onto the rails.
 The coupler provided by the company is much easier to use than the one normally used. No feeler gauge necessary! The coupler is a 4″ sleeve that goes over the shaft from the prop and the shaft from the engine. The bottom half is a solid piece, with a slot for the key. The top is two halves: one to fit over the prop shaft and one to fit over the engine shaft. When alignment is right, the two halves bolt easily in place.
We aligned the engine, using a mirror underneath the shaft to confirm placement. We then checked the spacing of engine in terms of where I wanted to place the two unseated batteries. Everything looked like it would work. So we pulled the engine out again.
I cut two more platforms out of oat for the last two batteries. Like the house batteries, I put plastic battery holders in place to keep them from shifting. Note on those plastic holderes: those things are tough! Moving 100 lbs isnt easy. So when I put one holder under a battery to see if it fit right, I should have crushed the thing with my handling. But not a tear appeared on it. That made me feel alot more confident about my choice to use them.
More West Systems epoxy on these platforms, the 2×4 support for the ‘upper’ battery, and for the two thinner oak supports for the ‘lower’ battery. I also used West Systems and fiberglass matting to hold the oak supports in place, again so I wouldn’t have to screw anything into the bottom of the boat.
While the engine was out, and before I put the last two batteries in, I also installed the charger, since it would be on the wall of the engine compartment, forward of the ‘upper’ battery, and beside the engine. I also installed the battery cutoff switch, the fuse and the relay required by the engine.
Once all this was in place, I reinstalled the engine. I didn’t connect it with the couple yet. I want to test it out once we have it all wired up, and I don’t want to ruin my new cutless bearing when we do. I then put other two batteries in place. Tomorrow, we wire everything up.
